A dead-bounce weighted trainer gives you a simple way to build power, raise your heart rate, and keep setup time low.
Because it stays put after impact, it works well for fast intervals, beginner coaching, and busy group sessions.
Quick Takeaways
If you want the short version, focus on bounce, load, space, and warranty support.
-
This tool uses a dead-bounce design that suits power work and conditioning. It is easier to control than bouncy options when you train on suitable flooring.
-
Using it 1 to 3 times per week can build whole-body force and work capacity. Keep the load honest and the technique sharp.
-
Buy for your setting, not just the price tag. Check the shell, grip, diameter, and weight range before you order.
-
Australian consumer guarantees can apply beyond a written warranty. Keep your receipt, document faults, and contact the seller first.
-
Clean it with mild soap and store it indoors. Heat, sharp edges, and rough storage shorten service life.
What This Tool Is
This tool is built to hit the floor hard and stop where it lands.
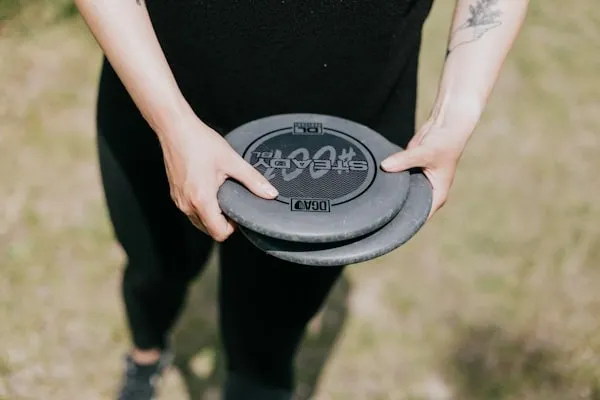
A slam ball has a sand-filled core inside a thick rubber or PVC shell. That build absorbs impact and creates a dead bounce, so you do not have to chase it after each rep.
Compared With Other Options
A slam ball is made for floor throws, drags, and carries. A medicine ball may rebound and suit partner work or wall tosses. A wall ball has a softer shell built to hit a target and return. Some models also keep the same diameter across several weights, which makes coaching and hand placement easier.
Benefits That Matter
The biggest wins are fast power work, simple conditioning, and easy coaching.
Power And Coordination
Research on medicine-ball training shows gains in throwing speed and power across six-week blocks. The same pattern matters here. Each rep trains triple extension, where the ankles, knees, and hips extend together, so your body learns to create force quickly and link it from the floor to the hands.
Conditioning Without Complex Setup
You need rubber flooring, a timer, and a clear patch of space. That is it. The dead-bounce build removes random rebounds, so you can push hard intervals without worrying about the tool flying back at you or into another member.
Coaching Simplicity
The cue list is short: reach tall, brace, hinge, and throw. Compared with more technical circuits, this is faster to teach in groups and easier to standardise across different skill levels.
Safe Overhead Technique
Good form starts with a brace, a clean hip hinge, and a spine that stays neutral.
Setup And Throw
Stand with feet about hip to shoulder width apart. Brace your core and keep your ribcage stacked over your pelvis. Reach tall, then hinge at the hips as you drive the tool to the floor. Finish with soft knees and your chest up, not folded over.
Common Errors And Fixes
-
Rounded back: Shorten the range and rehearse the hinge before you add speed.
-
Too much overhead arch: Cue "ribs down" before every rep.
-
Load is too heavy: Drop the weight if the arc gets short or the finish gets sloppy.
Surfaces And Space
Use rubber flooring or thick mats. Avoid tile and uneven surfaces. Check the ceiling and any overhead fittings before each set. If your back, shoulders, or wrists already get irritated, start light and get a coach to check your pattern.
Programming Ideas
Use short, crisp sets for power and timed blocks for conditioning.
Power Primer
Do 6 to 8 sets of 3 to 5 reps with full recovery between sets. Pair each round with a mobility drill, such as a hip opener or a thoracic rotation. Progress by adding a small weight jump or by making each rep faster and cleaner.
EMOM Conditioning
EMOM means every minute on the minute. Minute 1, do 8 to 12 reps. Minute 2, do a carry or row. Minute 3, rest or train the trunk with a plank variation. Scale the reps to the weight and the member in front of you.
Ladder Finisher
Count down from 10 reps to 1, and alternate each round with push-ups or short bike sprints. Cap the total time at 8 to 12 minutes. Start light to lock in the hinge and throwing path, then move up only when technique stays sharp.
Buying Checklist
Choose by build quality and training use, and you will avoid most buying mistakes.
-
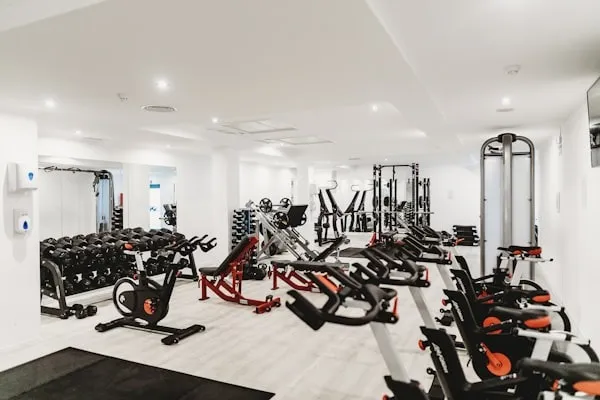
Construction: Look for a thick, textured shell and a sand fill that creates a true dead bounce. Seams should feel even, and the valve should sit cleanly.
-
Diameter: A consistent size across several weights makes progression easier for coaches and members. Many Australian retail sets run from about 3 to 30 kg.
-
Weight By Goal: Beginners usually start at 3 to 6 kg, intermediates at 8 to 12 kg, and advanced power work at 15 to 25 kg or more.
-
Grip: Tire-tread or pebbled textures help when hands get sweaty.
-
Facility Fit: Check your floor type, ceiling height, storage space, and cleaning routine before you buy a full set.
Care, Storage, And Service Life
Simple care habits do more for lifespan than any marketing promise.
Wipe the shell with mild soap and water after use, and skip harsh solvents. Store units indoors and out of direct sun or vehicle heat, because long exposure can break down rubber and adhesives.
Do not stack heavy objects on top of them or leave them near sharp edges. Rotate them through classes to spread wear. Before each session, check for cracks, slow leaks, or a misshapen shell, and retire damaged units quickly.
Warranty And After-Sales In Australia
Your written warranty matters, but your consumer rights can matter even more.
Under Australian Consumer Law, or ACL, goods must be of acceptable quality for a reasonable time. What counts as reasonable depends on the price, description, and expected use.
If a product fails to meet those guarantees, the remedy may be a repair, replacement, or refund. That depends on whether the fault is major or minor. Sellers must also make spare parts and repair facilities available for a reasonable time after purchase.
If something fails, document the fault with photos, the purchase date, and any batch or model details. Contact the seller first, attach your receipt, and describe the issue clearly. If you do not get a fair response, you can escalate the matter through your state or territory fair trading body.
Before you buy, check the warranty length, what counts as misuse, who pays freight on claims, and how after-sales support actually works. Products bought from private sellers usually do not get the same consumer guarantees, so established businesses are the safer bet.
Where To Buy In Australia
Local support is worth paying for when equipment sees hard, repeated use.
Look for sellers that publish clear specifications, offer consistent sizing across the range, explain their returns and after-sales process in plain language, state who covers freight on a claim, and give enough build detail for you to judge how the shell will hold up in regular gym use before comparing Kinta Fitness' slam balls as a practical benchmark for durability and local support.
Australian buyers who want a no-bounce training option with local support can compare Kinta Fitness's range. The brand lists available weights and outlines what happens if a defect occurs within the warranty period, making buying decisions easier.
Final Thoughts
This tool works best when you match smart buying with a clean technique.
Get the load right, protect your flooring, and store it properly. If you are buying in Australia, keep your receipt and understand your rights before any problems arise. That small bit of admin can save time and money later.
अक्सर पूछे जाने वाले प्रश्नों
What Weight Should I Start With?
Most beginners do well with 3 to 6 kg. Pick a load that lets you keep a clean hinge and full overhead reach for sets of 8 to 10 reps before you move up.
Can I Use A Bouncy Option For Floor Work?
It is not a good idea. Rebound makes the next rep unpredictable and raises the risk of getting hit. A dead-bounce option is built for this job.
What Surface Works Best?
Rubber flooring or dense gym mats are the safest choices. They absorb impact and help protect both the tool and the floor underneath. Avoid tile, polished concrete, and uneven joins.
How Often Should I Program This Each Week?
One to three sessions per week fits most people. Use fewer sessions for heavier power work and more frequent sessions for lighter conditioning, then adjust based on soreness and your overall training volume.

लेखक